Monday, April 20, 2020

Abstract Cardboard Masks

Ella, 2nd grade


Raya, kindergarten


 Charlize, 2nd grade


 Kiran, 1st grade
(This shape reminds me of Keith Haring's dogs - Love it!)


 Harper, kindergarten


 Kate, kindergarten


 Thalia, 3rd grade


Katherine, kindergarten
(My kinder girls were very adamant about wanting their masks to be "cute")
Love the blond locks


Mira, 3rd grade


Scott, 5th grade


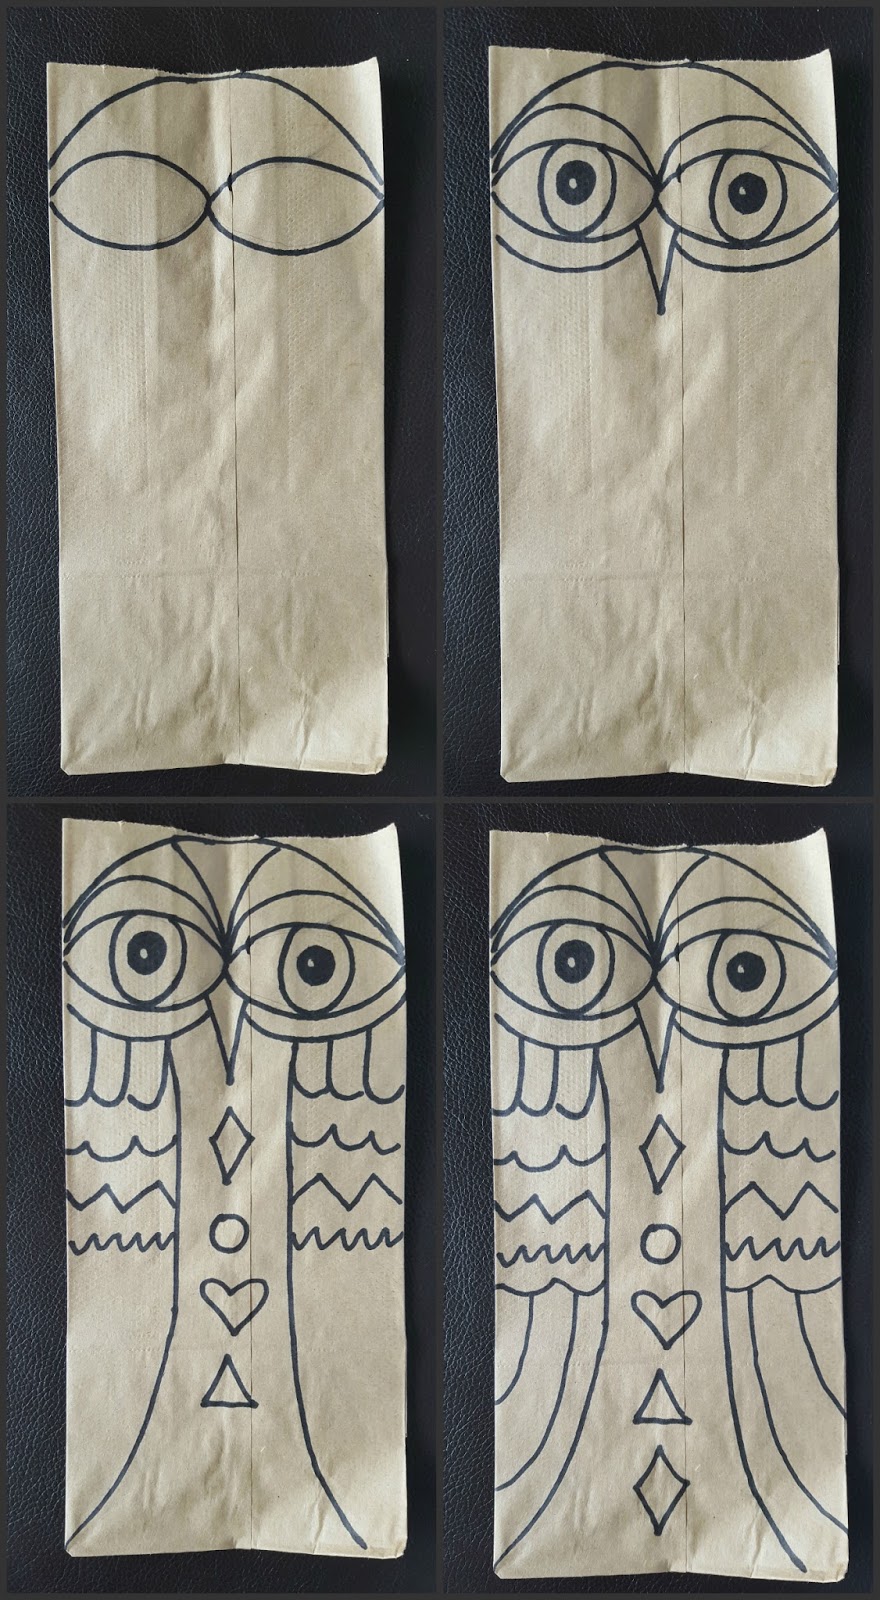
 Got cardboard? Here's a fun project to utilize any scrap Amazon or pizza boxes. Parents can help younger children cut out the base or face shape of these masks. Since these are abstract, get creative with your shape. Have your children divide their face into sections with a permanent marker and paint with different colors. Facial features can be cut with scissors using thin cardboard using leftover cereal, soda or cracker boxes. Encourage them to be creative with their shapes for eyes, nose, mouth and ears. These can be colored with markers, oil pastels or paint. 

Once their facial features are cut out, they can play around with where they'll be placed on their base. These are abstract, so eyes don't have to be side by side. Have fun! Now they can be glued down using regular school glue. Last, if you have a junk drawer, you can encourage children to embellish their masks with buttons, bits of hardware, soda can tops or anything else you can think to utilize. 


This was a lot of fun for my wide age range groups. Everyone felt successful and it is a great way to teach children that they can create art from a variety of recycled materials.

*Note: For inspiration, check out the work of Kimmy Cantrell and Eric Straw!

  Recycled food and beverage boxes for facial features - easy for the kids to cut out

Tuesday, April 7, 2020

Paper Bag Owls

Now felt like a good time to revisit these owl projects 
using lunch bags or grocery bags as your canvas.

Many communities are setting out luminaries to honor healthcare professionals.


Graphic Owl Luminaria


Supplies:

Brown school lunch bag
Black Sharpie Marker
 Sharpie Markers in Assorted Colors
Battery Tea Light Candle


Kids can get creative with lines and shapes in
creating their graphic owl - here are just a few ideas
After black lines are drawn, color away!

*Many communities are lighting luminaries to honor healthcare professionals.

Lunch Bag Owl 
Stuff these paper bag owls with old newspaper to create fun standing creatures

Supplies:

Black Sharpie Marker - Fine Tip, Chisel or King Size
Chalk Pastels
2 brown paper lunch bags
Scissors and glue
newspaper or tissue paper


After you have drawn all your Sharpie lines, add color to your owl using
the side of your chalk pastels with light pressure
Stuff bag with crumbled newspaper
Cut out wings and ear tufts from a separate bag and glue to your owl


Grocery Bag Owls

Barn Owl
Fun facts: Barn Owls have a distinctive heart shaped face,
 their flight is silent and they don't hoot, they shriek

Supplies:
Brown Grocery Bag, cut into a rectangle
Fine and Ultra Fine Tip Black Sharpie Markers
Chalk Pastels


For a simple, finished composition - on a piece of black construction paper,
create a full moon with chalk pastel and add some stars with a white Sharpie marker.
Just cut out and glue your owl to the backgroud.
(those veins though....lol!)


Great Horned Owl
The Great Horned Owl is named for the tufts of feathers (not ears) that sit on top of its head. The ears are actually openings in the sides of its skull, hidden by feathers, down on the sides of its head.

Create sketchy loose lines with Sharpies
Add a little more color with chalk pastels


Supplies:

Brown Grocery Bag, cut into a rectangle
Sharpie Markers in Black, Brown and White
Chalk Pastels
Create a backgroud of your choice

Sunday, March 29, 2020

Sea Fantasy Garden


Fanta"Sea" Garden
Teens and adults- create your own artwork inspired by artist Yellena James. She has lots of examples of her beautiful art on Pinterest to inspire you.
 Here is a step-by-step to create your own design. 


 Start with a few circles in the center of your paper. 
Add some smaller circles inside them. They kind of look like olives.


 Add some sea plants. These look like lines with long raindrops attached

 Add a series of lines inside your circles and some more sea plants

Here is a different style of coral-like plants you can add


Stack these pointed curves to fill in some gaps
 How about this sea flower using small stacked circles?

 Or these "U" shapes that overlap one another?
 Maybe some raindrop shapes and rows of dots or small circles


 Add these elements all around your circle shapes
to create your fantasy garden or come up with your own ideas

Fill up your page with as many details as you'd like
Feel free to add your own made up sea plants or abstract shapes 
Draw or trace your drawing with Sharpie or ball point pen


Now it's ready to add color using markers or colored pencil or whatever you enjoy.


 This is just thin black pen and markers on printer paper


This was created on 5x7 cardstock and is ready for color
using markers, paint or colored pencils


I have added links to the materials you can use for this method.
Start with a light watercolor wash on watercolor paper
After it's dry, use a fine tip permanent black pen, and Any of the following for color: Gelly Roll pens, Bic Metallic Markers, regular markers, colored Sharpie markers,
Posca Pens or any paint pens and white gelly roll pens.

Here I took it a different direction with a painted background and used collaged circles and gel pens and metallic markers on top.

Get creative and think of different designs using these shapes and add your own ideas.  
Send me a picture of your work so I can create an online gallery to share your art!

Wednesday, January 15, 2020

Koala and Kangaroo Collages

The people and animals of Australia are in our thoughts and prayers right now during the horrible fires. Sometimes creating art is a nice way for children to work through their feelings and at the same time honor these beautiful animals. Here are some ways to use your gel plates to create koala or kangaroo collages. 


 8x10 Koala Gelli Print Collage

For the Koalas
 1. Add gray paint to your Gelli Plate
2. Create texture with an old toothbrush (tissue paper or cotton balls)
3. Make a print using 8x10 paper or card stock


Create a simple template using cardstock or posterboard and cut out
Trace template on the textured gray paper and cut out koalas

Background Print

 1. Spread green paint on your gel plate for the trees
2. Make a print
3.Spread a background color and lay down a few flattened branches
4. Make a print using the same green paper


             Add some details to your cut koalas using black and white pens
Glue them to your background print

Here are some steps if you have a small gel press to create
small artworks or cards

1.Repeat the steps above to create a gray textured print using a piece of
paper cut or folded to the size of your plate (5"x5")
2. Spread a background color on your plate and place your koala template
to create a mask.
3. Make a print using the same gray paper. 
4.Now you can add details to your koala using white and black pens or paint.
5. You can add extra details to the background using paint, pens or markers

5"x5" artwork


Here is another idea to create a kangaroo collage
using an 8x10 or larger plate
 1. Spread out a few colors on your plate using your brayer
2. Make a print
3. Create a print using a few different shades of brown paint
(this print was leftover from my fish bowl project that I used for rocks)
4. Draw a simple kangaroo shape. I looked at black silhouettes and illustrations.
5. Add some details using fine black marker. I used a white pastel to a few areas as well
6. Cut out and glue to your background. You can add some extra details to your piece
(I created some kangaroo silhouettes, stars and plants in the foreground)

Saturday, January 4, 2020

Mixed Media Gel Printed Fish Bowls


Here is a fun way to use your gel printed botanical pages to 
create fish bowl or terrarium collages.

 Gather some leaves - the greater variety of silhouettes, the better

 I press mine in an old dictionary. The kids get the biggest kick out of the fact that this is how we used to look up the spelling and definition of a word before the internet. 

 Add some paint to your Gelli Plate - Remember that this will be the color of your plants. With that in mind, you might want to use light or warm colors for a nice contrast.


 Now add some paint for the water or background of your fish bowl or terrarium. Lay down some leaves and make a print using the same paper as above. 

Use a template to trace for the fish bowl. You could use any vessel shape. We used metallic markers and added white pen to create highlights in the glass. You can use different pens and markers to add more plants if you want. 


I had some Gelli Arts DIY Kits with 5 inch square plates. These were perfect to create 
small fish bowls following the same steps as the larger bowl. 


You can create collage rocks using gel printed papers 
or you can add them with paint or markers. 


 Some of my students created shadows under our fish bowls 
using chalk pastels with water and a paint brush. 
Just color an ellipse and spread it out with water for a watercolor effect. 


I offered a variety of ideas for creatures to create, cut and place in the fish bowls. 
You could go realistic, whimsical, cartoon or imaginary,


You can use leftover gel printed papers or create fish 
or creatures using white paper and markers.


We glued our fish bowls on watercolor paper. 

 This background was created using acrylic paint for the wall, watercolor for the table
and charcoal for the shadows,

You could create single vessels with painted backgrounds
using an 8x10 or larger Gelli Plate. 

 Added collage succulent


The pieces below were created by students, ages 5-12.

 6th grade

 Kindergarten

 Kindergarten


 3rd grade

3rd grade


6th grade

A special thanks to Natalie at at smART class for her Fabulous Succulent Garden art lesson here https://elementaryartfun.blogspot.com/2018/05/succulent-gardens.html
and artist, Clair Bremner for her Create a Terrarium Artwork with a Gel Press art class on Skillshare for Inspiration.